Chelsea Boot Fit Calculator
Find your perfect Chelsea boot size and fit. Answer a few quick questions about your feet and preferences to get personalized recommendations for comfort and style.
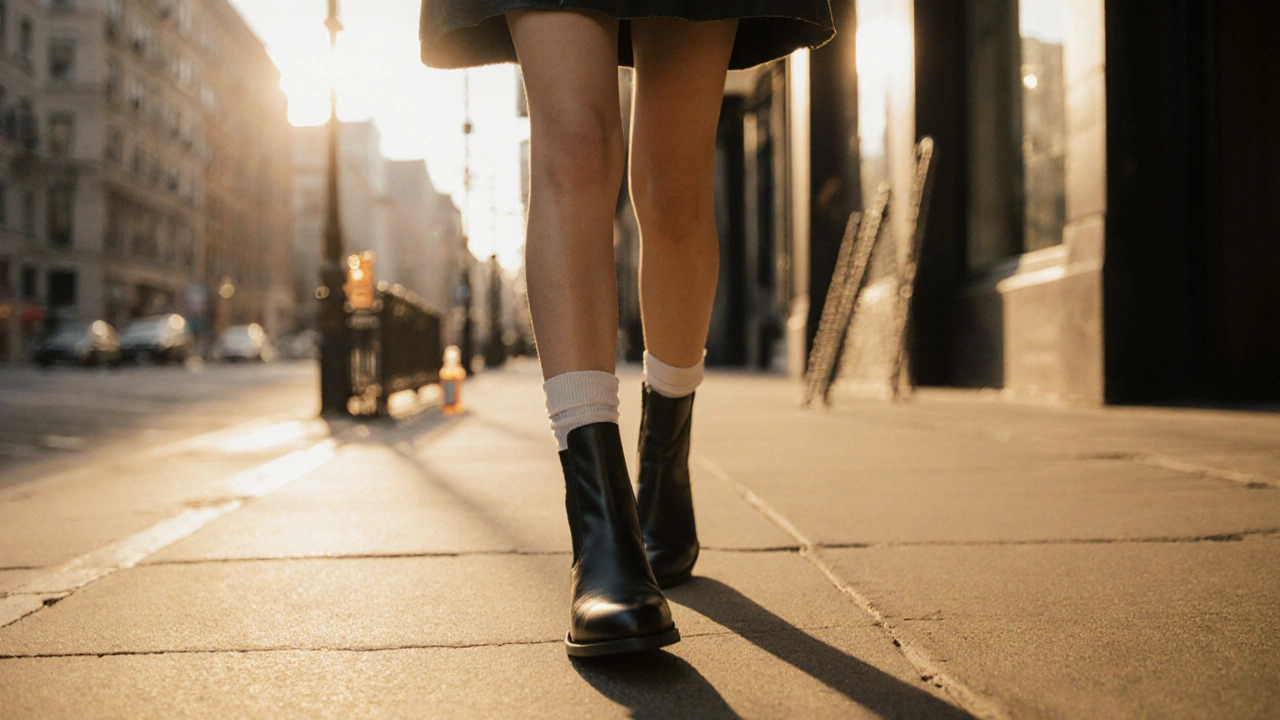
Ever slipped on a pair of Chelsea boots is a close‑fitting ankle boot that’s loved for its sleek silhouette and easy slip‑on style. They look great, but many women wonder why they leave the feet sore, achy, or even blistered after a few hours. The answer isn’t a mystery-it’s a mix of fit, material, design quirks, and personal foot shape. Below we break down the most common reasons they hurt, how to diagnose the exact culprit, and practical steps you can take to make your boots painless.
What Makes Chelsea Boots Different?
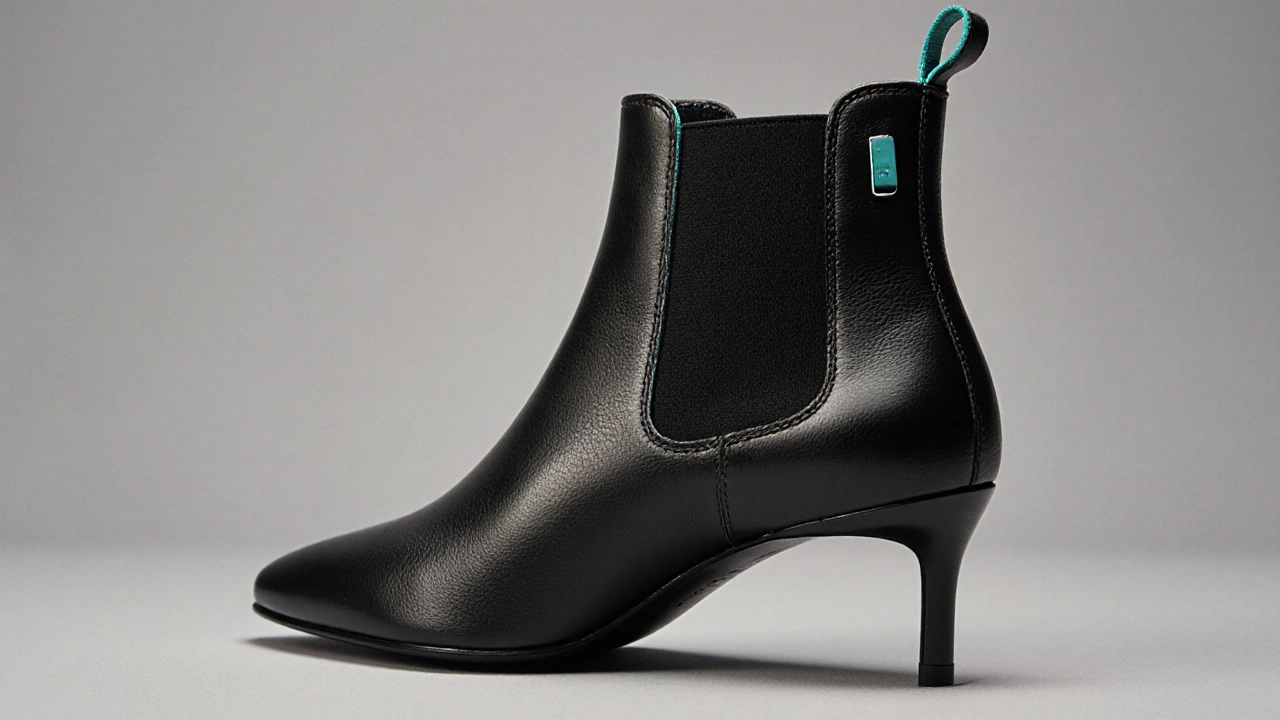
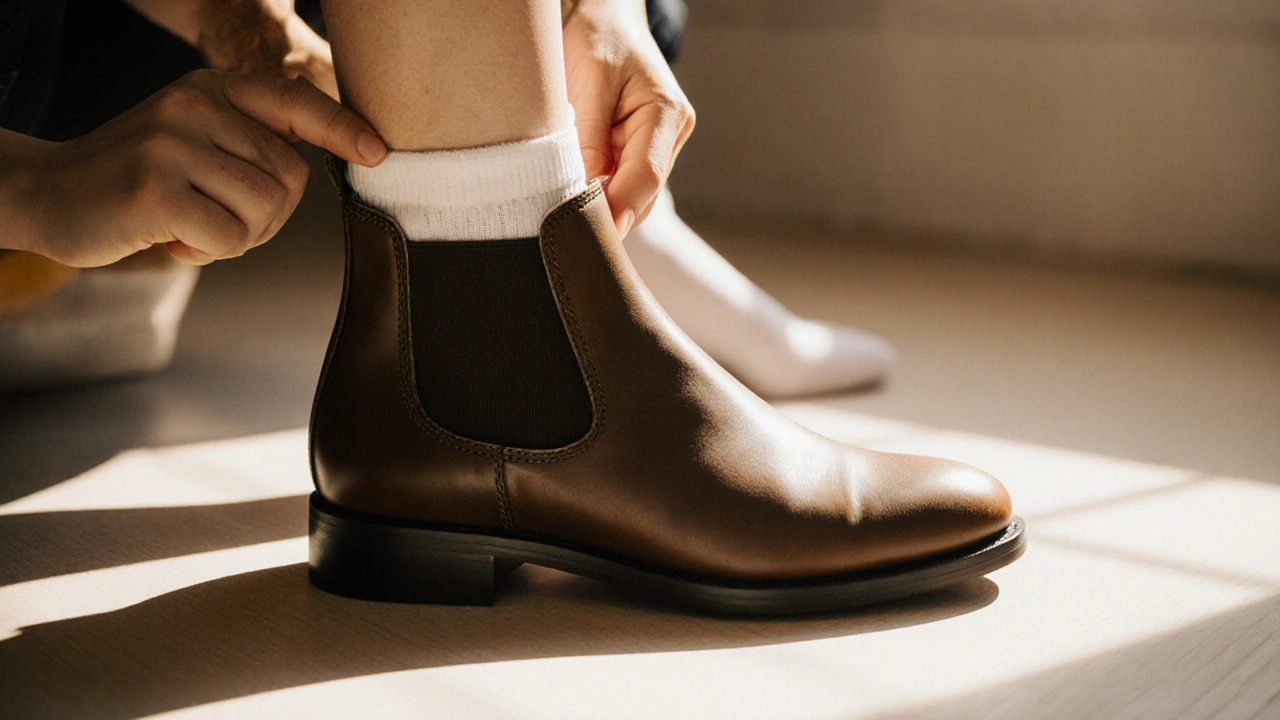
Understanding why a shoe hurts starts with its anatomy. A typical Chelsea boot consists of a low ankle rise, an elastic side panel (the iconic “elastic gusset”), a pull‑tab at the back, and a slim heel. The construction aims for a snug fit that hugs the foot without laces. While that sleek look is appealing, the lack of adjustable straps means the boot must get the size and shape right right out of the box.
Common Pain Points and Their Causes
- Too tight around the ankle - The elastic gusset can compress the lower calf, especially if the boot’s internal width is narrow.
- Hard heel counter - A rigid heel collar can rub against the Achilles tendon or cause heel blisters.
- Insufficient arch support - Many Chelsea boots have a flat insole, leaving those with high arches or overpronation without needed support.
- Stiff material - Fresh leather or suede needs time to soften; until then it presses hard against the foot.
- Improper sizing - Going down a half size to “fit” the narrow profile often squeezes the forefoot and toes.
- Wrong sock thickness - Thick wool socks add bulk, while thin socks may let the boot slide, creating friction.
How to Diagnose Your Specific Issue
Before you toss the boots, run a quick self‑check. Put on the boots with a thin cotton sock and stand still. Notice where you feel pressure:
- Press your thumb against the inner ankle area. If you feel a pinching sensation, the elastic side panel is too tight.
- Walk a few steps and feel the back of the heel. Rubbing or hot spots indicate a stiff heel counter.
- Place your hand under the arch while seated; if there’s a noticeable gap, the insole lacks arch support.
- Check the material by bending the toe box. If it feels rigid, the boot hasn’t broken in yet.
Pinpointing the exact area helps you choose the right remedy.
Quick Fixes You Can Try at Home
- Stretch the elastic side panel: Use a shoemaker’s stretching spray or gently pull the elastic outward with your hands for a few seconds each day.
- Soften the leather: Apply a leather conditioner or a few drops of mink oil. Let it penetrate overnight; the material will become more pliable.
- Add a cushioned insole: Look for an arch support insole with gel padding. It adds a layer of comfort without adding bulk. \n
- Use heel grips or pads: Small silicone or fleece pads stick inside the heel cup, reducing friction.
- Try a half‑size up if the toe box feels cramped. Pair it with a thinner sock to keep the overall silhouette sleek.
- Wear them for short periods initially. Gradually increase wear time to let the boot mold to your foot.
When to Consider Professional Help
If home tricks don’t help after a week of consistent wear, it’s time to visit a cobbler or a shoe‑fit specialist. They can:
- Perform a precise stretch on the elastic gusset using a professional stretcher.
- Replace the factory insole with a custom orthotic that matches your foot’s biomechanics.
- Adjust the heel counter by shaving or softening excess material.
Professional adjustments typically cost $30‑$60, but they can save you weeks of discomfort.
Choosing the Right Pair the First Time
Prevention is better than cure. Keep these factors in mind when shopping for your next Chelsea boots:
| Feature | Leather | Suede |
|---|---|---|
| Flexibility | Medium - softens with wear | High - naturally more supple |
| Break‑in time | 1‑2 weeks | Less than a week |
| Water resistance | Good (when treated) | Poor - prone to stains |
| Cost (USD) | $120‑$180 | $100‑$150 |
Leather offers durability and a classic look, but it can be stiffer initially. Suede feels softer right away, yet it shows wear more quickly and needs extra care in wet weather. Decide based on your climate, style preference, and how much break‑in time you’re willing to tolerate.
Key Fit Guidelines for Women’s Chelsea Boots
- Measure both foot length and width. Use a Brannock device or a printable foot‑measuring chart.
- Allow a thumb’s width of space between the end of the longest toe and the boot’s interior.
- Check the heel: you should be able to slide a finger between your heel and the boot’s back when standing.
- Consider your arch type. High arches often need a built‑in arch or a removable insole you can replace.
- Try on boots at the end of the day, when feet are slightly swollen - this gives a more realistic fit.
Managing Foot Swelling and Seasonal Changes
Feet naturally expand in warm weather or after long periods of standing. If you notice a sudden increase in discomfort during summer, try these adjustments:
- Switch to a thinner, moisture‑wicking sock.
- Insert a breathable footbed that promotes air circulation.
- Take short breaks to stretch your calf and ankle muscles.
Maintenance Tips to Keep Your Boots Comfortable Long‑Term
- Condition leather or suede every 2‑3 months to maintain softness.
- Store boots with a shoe tree to preserve shape and prevent creases.
- Rotate between multiple pairs; giving each pair a rest reduces material fatigue.
Bottom Line: Comfort Is Within Reach
Chelsea boots don’t have to be a pain in the foot. By understanding the common sources of discomfort-tight elastic, stiff material, lack of arch support, or wrong size-you can apply targeted fixes or choose a better‑fitting pair from the start. A few simple steps-stretching the gusset, adding a quality insole, or opting for a slightly larger size-can turn a painful experience into a stylish, all‑day pleasure.
Frequently Asked Questions
Why do my Chelsea boots rub my heel?
A rigid heel counter or a shallow heel cup can cause friction. Adding a thin silicone heel grip or using a softer insole usually solves the problem.
Can I wear Chelsea boots with high arches?
Yes, but you’ll need extra arch support. Replace the factory insole with a supportive orthotic or a gel arch insert designed for high‑arched feet.
How long should I break in new leather Chelsea boots?
Typically 1‑2 weeks of short daily wear, combined with a leather conditioner. If they’re still stiff after that, consider a professional stretch.
Are suede Chelsea boots more comfortable than leather?
Suede is naturally softer, so it tends to feel more comfortable right out of the box. However, it’s less water‑resistant and shows wear faster.
Should I buy a size up to avoid foot pain?
If the toe box feels cramped, moving up a half size can help, but make sure the ankle and heel still fit snugly. Pair a larger size with a thinner sock to keep the silhouette sleek.